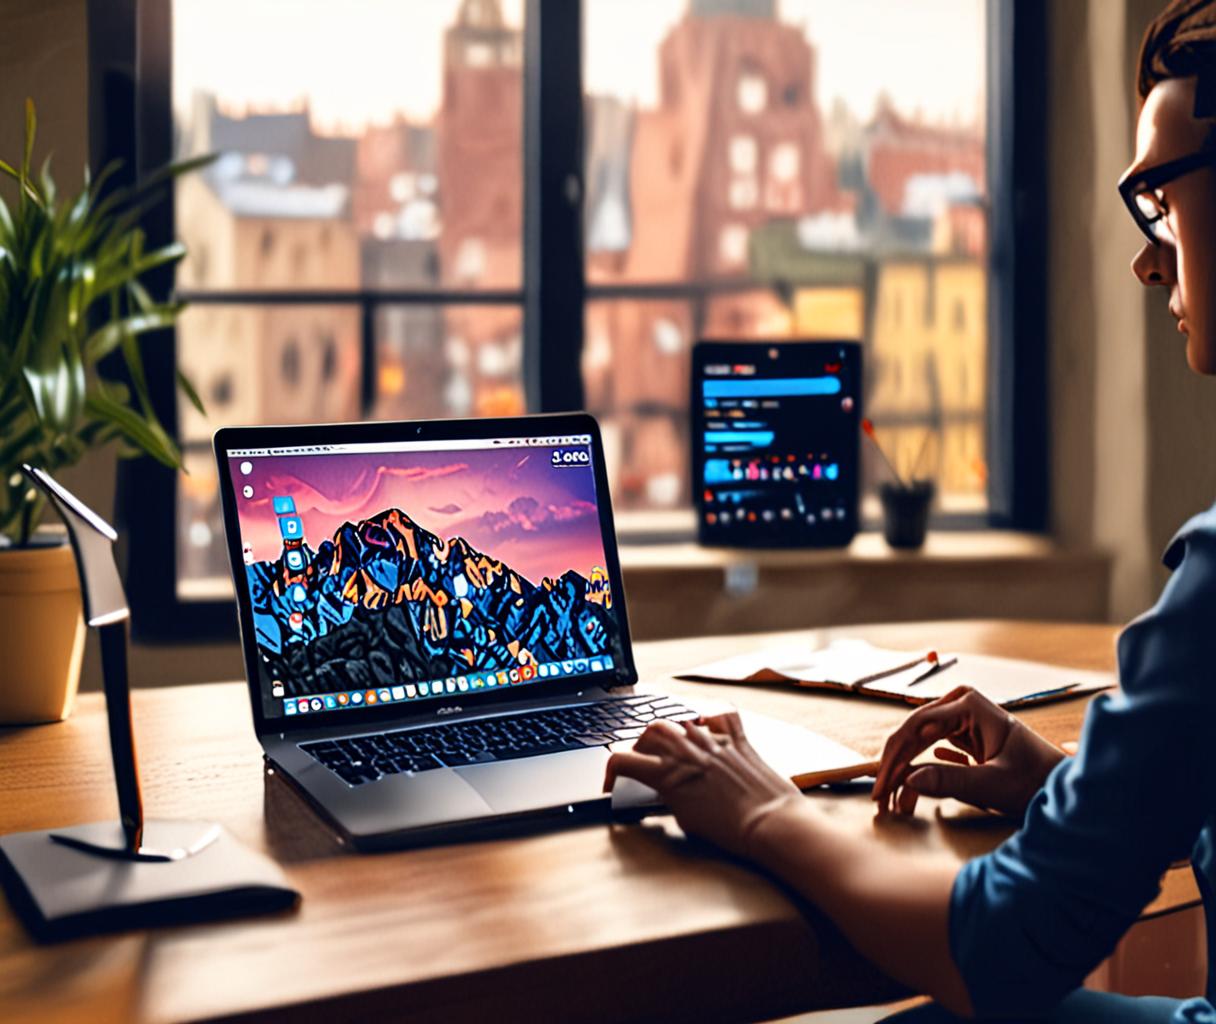





Beginner app guide: mobile app development steps, iOS Android basics, and a launch checklist to turn your idea into a real app.
Why Most Apps Never See the Light of Day
Only about 0.5% of the apps that start as a sketch ever make it to a public store. The rest fizzle out in a garage, a coffee shop, or a half‑finished prototype. The difference isn’t talent; it’s a clear, no‑fluff roadmap that turns curiosity into a launch‑ready product.
1. Validate the Idea Before You Code
Ask yourself three questions: Does anyone need this? Are they willing to pay or spend time on it? Can you solve it better than existing options? A quick way to test is a one‑page landing site with a sign‑up form. If you gather 50+ interested emails in a week, you have validation.
Use a free survey tool (Google Forms, Typeform) and share the link in relevant forums or social groups. Real feedback beats gut feeling every time.
2. Sketch the User Journey
Grab a pen, not a laptop. Draw the screens a user will see, from opening the app to completing the core task. Keep it ultra‑simple: three to five screens max for the first version. This step anchors the scope and prevents feature creep.
“A sketch is worth a thousand lines of code.”
— Startup Mentor, Jane Patel
3. Choose Your Platform Wisely
iOS and Android dominate the market, but you don’t have to build for both immediately. Consider your audience, budget, and timeline.
| Aspect | iOS | Android |
|---|---|---|
| App Store Approval | Strict, 1‑2 weeks | Lenient, instant |
| User Demographics | Higher spending, US/EU | Broader, emerging markets |
| Development Tools | Xcode, Swift | Android Studio, Kotlin |
If your target is a niche professional group, iOS often yields higher revenue per user.
4. Build a Minimum Viable Product (MVP)
Focus on the single feature that solves the core problem. Use a no‑code platform (like Glide or Adalo) or a low‑code kit if you’re not a developer. The goal is a clickable prototype that runs on a real device within two weeks.
5. Test, Iterate, Polish
Recruit friends, family, or micro‑influencers to use the MVP. Capture three metrics: Completion rate, Time on task, and Frustration points. Fix the top two pain spots, then repeat. A 30‑second onboarding flow is a sweet spot for most consumer apps.
Never launch without at least five real‑world users testing the full flow. Early negative reviews are harder to recover from.
6. The App Launch Checklist
When the MVP feels solid, run through this checklist before hitting "Submit" on the store.
# App Launch Checklist
# 1. App name & icon approved
# 2. Store description (150‑200 words) with keywords
# 3. Screenshots (5 for iOS, 8 for Android) showing core flow
# 4. Privacy policy URL
# 5. Beta testing feedback incorporated
# 6. Version number follows semantic rules
# 7. Build signed with correct certificates
# 8. Release notes drafted“Launching is not the end; it’s the start of the feedback loop.”
— Product Coach, Luis Gomez
Your First App Is Only the Beginning
Now that you’ve crossed the finish line, set a calendar reminder for month‑two analytics review. Look at retention, crash reports, and user comments. The data will tell you which feature to double‑down on or drop entirely. In mobile app development, the habit of continuous iteration beats the myth of a perfect launch.
Schedule a 30‑minute sprint every two weeks to add one tiny improvement. Consistency builds momentum faster than occasional big pushes.